For rural homeowners in Eastern Oregon, reliable access to water is a fundamental necessity. Selecting the right well pump contractor can make a significant difference in the quality and reliability of your home’s water supply. Choosing the right contractor is essential for well pump installation Eastern Oregon.
While a DIY approach may seem cost-effective, certain factors like the region’s topography and climate necessitate professional expertise. Below, we will explore how to choose the right well pump contractor and what to consider for a successful well pump installation in Eastern Oregon.
Assessing Eastern Oregon’s Unique Well Water Challenges
Rural Eastern Oregon presents unique challenges for well pump installation due to its diverse geography, which can range from arid deserts to mountainous terrain. Such variations impact well depth, water quality, and the type of pump system required.
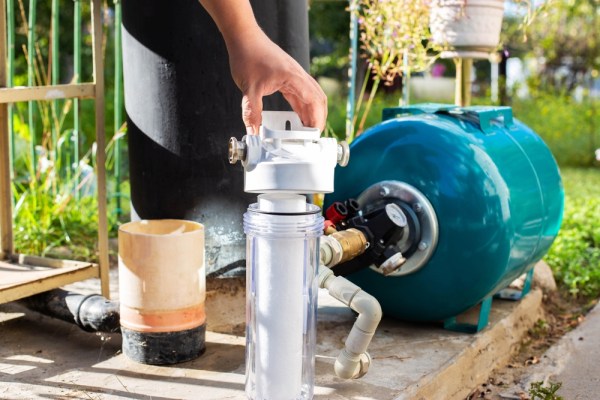
For instance, some areas may have high mineral content in the water supply, which requires specialized filtration systems to ensure water quality. In areas with extreme seasonal temperature variations, well components must be resistant to freezing and other weather-related stresses.
When choosing a contractor for well pump installation Eastern Oregon, homeowners should seek professionals with experience in addressing these regional characteristics. A knowledgeable contractor will evaluate the specific conditions of your property to recommend the appropriate well pump system.
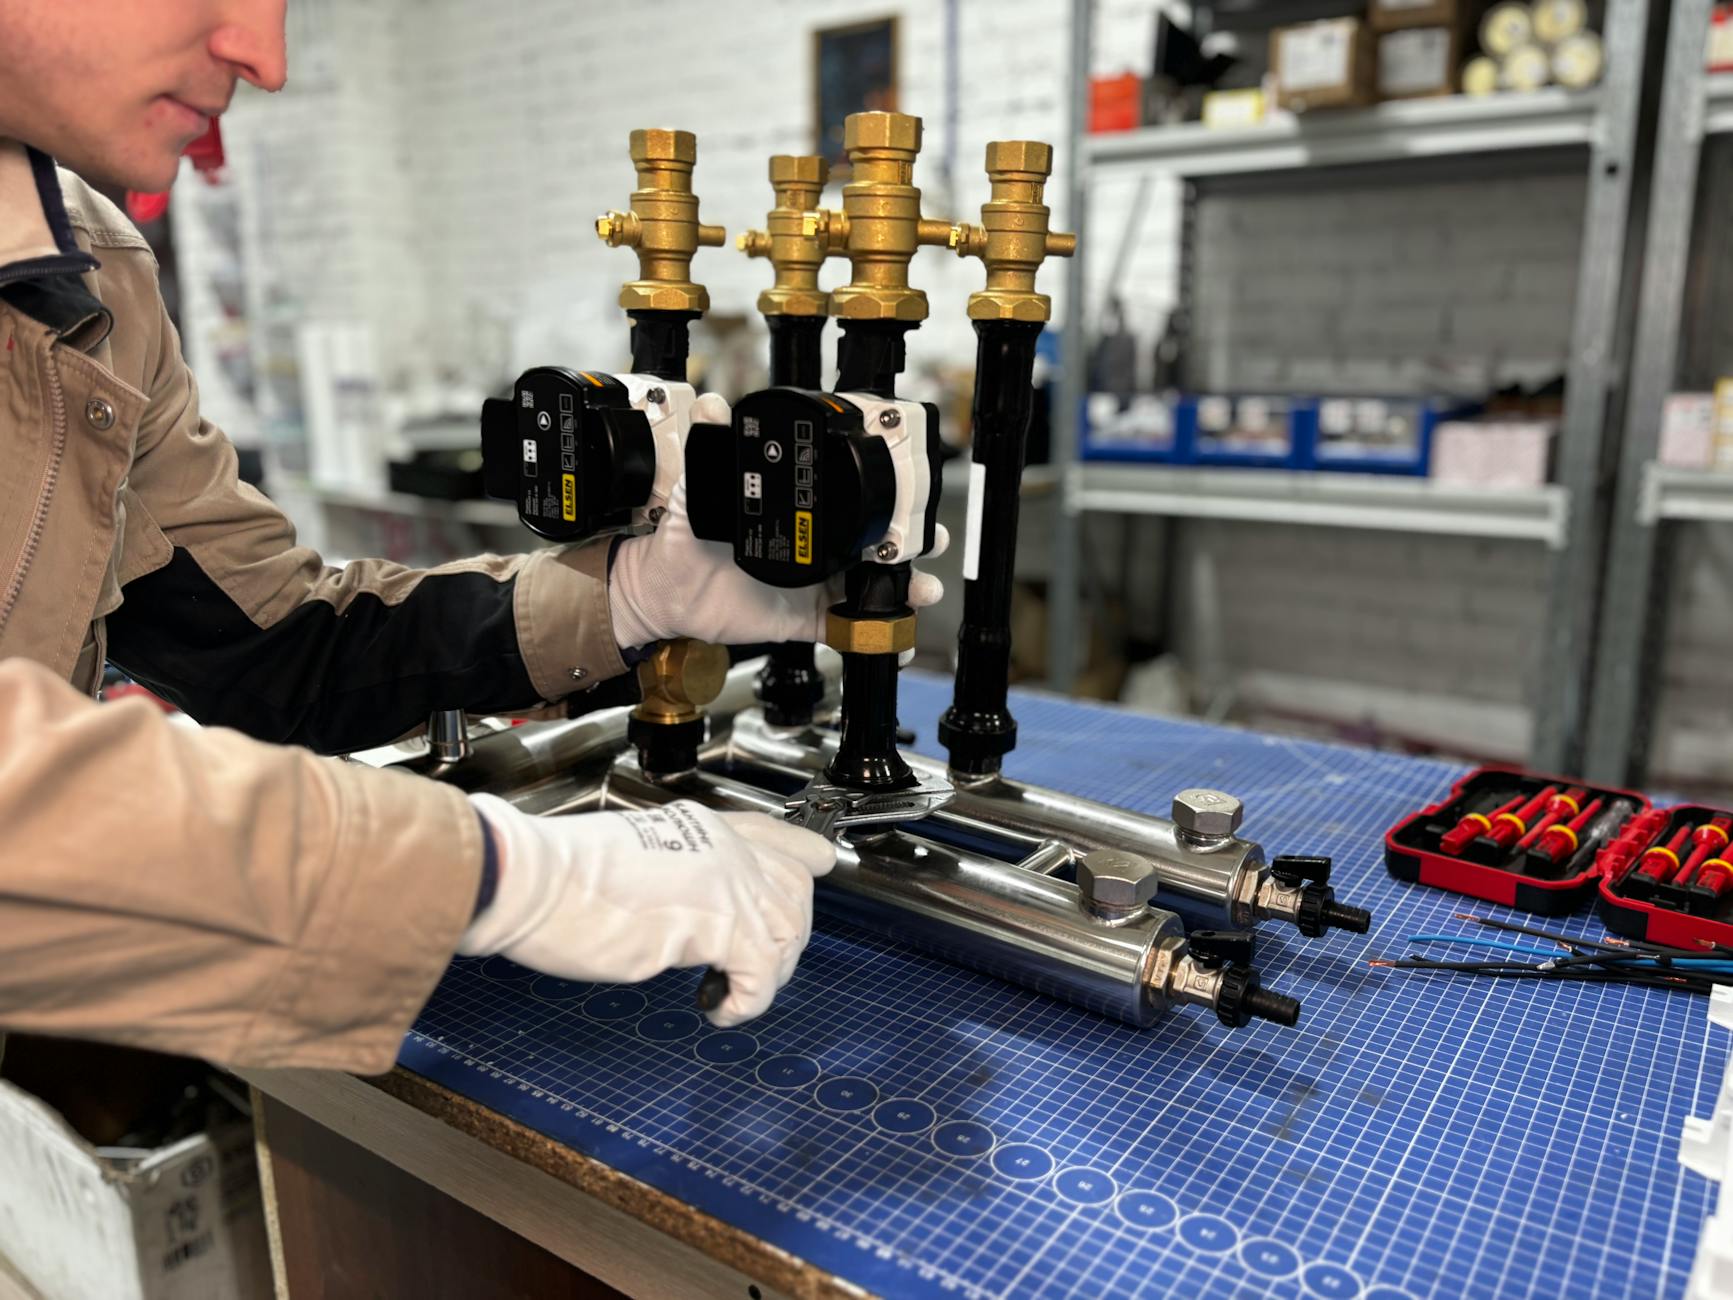
Professional Well Pump Installation: Ensuring Safety and Efficiency
Professional well pump installation is vital for ensuring that your water system functions safely and efficiently. Contractors bring technical expertise and understand the importance of adhering to Eastern Oregon’s environmental regulations and building codes.
A licensed well pump installer will also be versed in the latest energy-efficient technologies and can recommend the correct pump size to meet your household needs while conserving energy. This expertise ensures that your well pump system operates at peak performance with minimal environmental impact.
Additionally, professionals carry insurance that protects you from any liabilities during the installation process. For both safety and efficiency, a reputable well pump contractor is indispensable for a long-lasting and compliant water system.
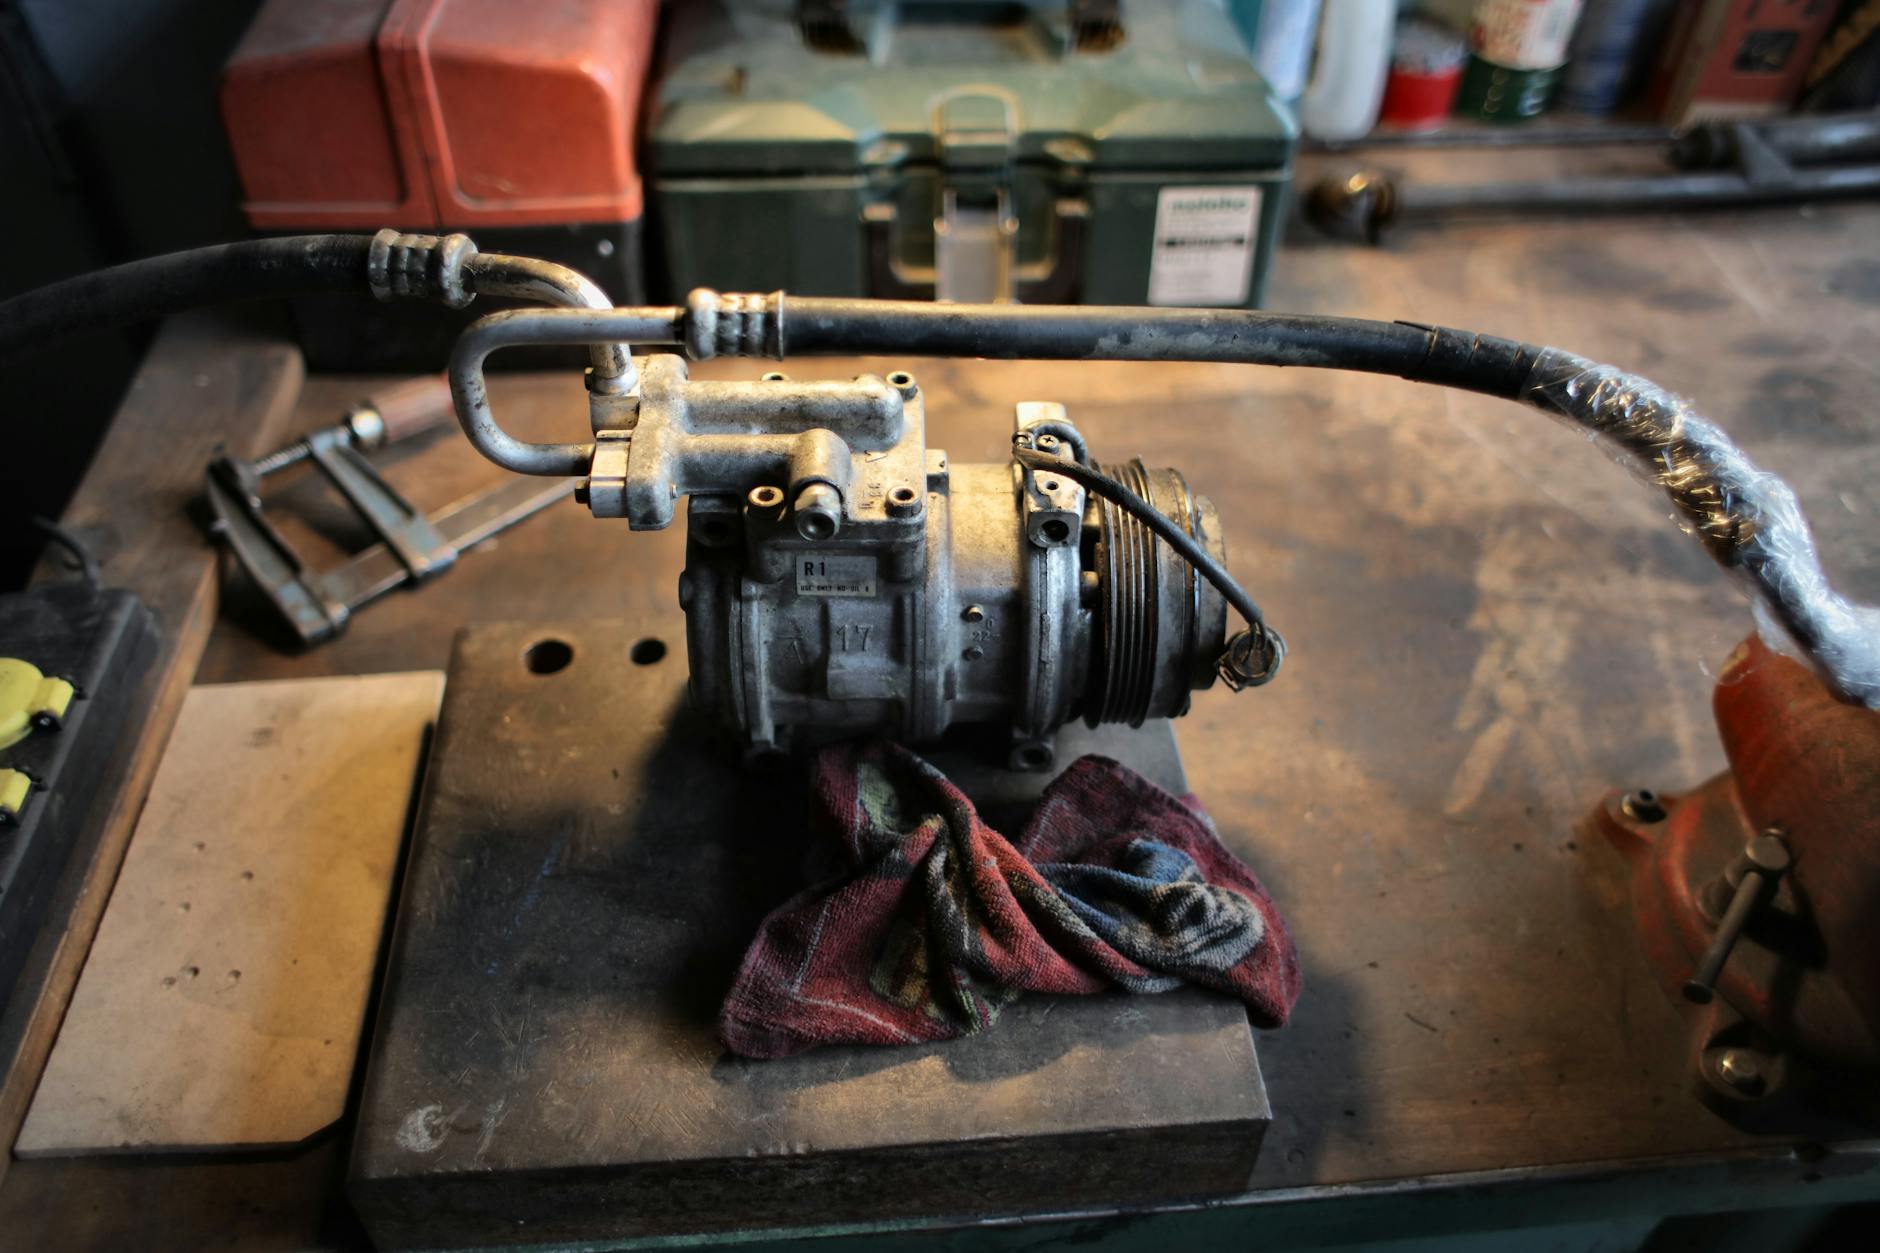
DIY Well Pump Installation: Skills and Tools Required
While the idea of DIY well pump installation might be tempting, it requires a broad set of skills and the right tools that most property owners may not possess. From understanding the geology beneath your property to electrical knowledge for the pump’s power supply, it’s a complex task.
DIY enthusiasts must also invest in specialized equipment, which can be costly and only occasionally used. Without the proper tools and expertise, one risks damaging the pump or injuring themselves during the installation process.
Before deciding on a DIY approach, consider the time investment required for learning and the potential risks. It may quickly become evident that hiring a professional contractor for well pump installation Eastern Oregon is the safer and more efficient choice.
Making the Decision: Cost-Benefit Analysis for Homeowners in Eastern Oregon
A well pump is a long-term investment for any homeowner, and its cost must be weighed against the benefits it delivers. Understanding the full spectrum of expenses, from initial installation to ongoing maintenance and potential repairs, is essential.
In rural Eastern Oregon, where professional services may come at a premium due to accessibility and transportation costs, homeowners should also factor in the value of a contractor’s regional expertise. This expertise can lead to more durable and trouble-free well pump operation, ultimately saving money.
Conduct a thorough analysis considering both the immediate and long-term financial implications of professional versus DIY well pump installation. Look beyond the price tag and think about reliability, efficiency, and peace of mind that a professional service can offer.
Ultimately, while a DIY well pump installation may seem like an opportunity to save money, the specific challenges and needs in rural Eastern Oregon often necessitate professional expertise. Weighing the risks and benefits with a focus on long-term performance and safety is key for homeowners making this critical decision. By choosing a well-informed contractor, residents can secure a reliable and efficient water supply for their homes.